Tuesday 26 February 2013

Amigurumi Friends - Tina

Sarah came back from Turkey a couple of weeks ago and I was going to meet her at our friend Tina's to give her the Star Wars set. But, I couldn't leave Tina out.  I had to get to work quickly and make something for her.  What better gift than a crochet Tina? :)

I'd got the gist of the round shape for the head - every pattern I'd followed so far (including the Christmas pudding) started the same way, so this was an easy free styling project.  Plus, I'd always wanted to try hair.

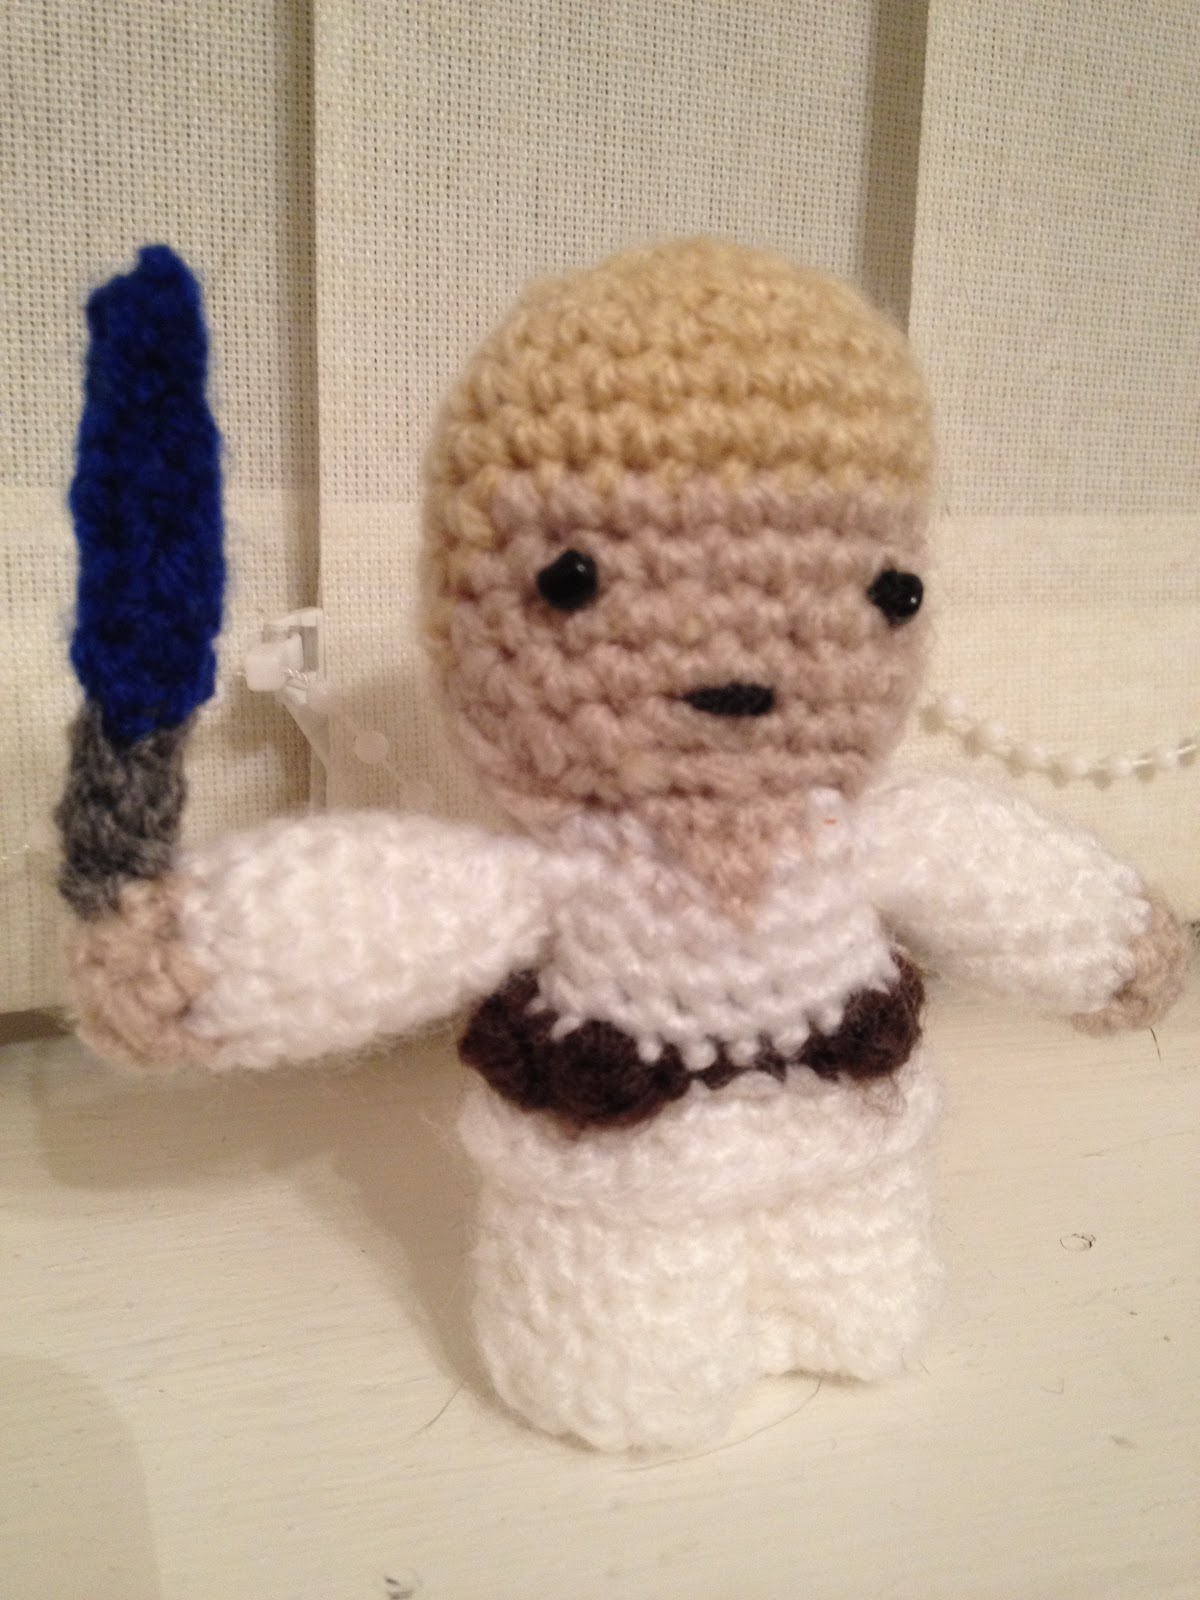
When doing hair, I would recommend using cotton or a 4 ply yarn, it's not as thick so it sits better.  I used double knit in this and it doesn't give the best effect.

I'd also recommend buying some safety eyes - I managed to pick some up really cheap from www.e-crafts.co.uk they were absolutely great and I received them the very next day. I used 7.5mm safety eyes and because they were so cheap, I ordered 10 pairs of each colour.

The hair is really easy to do, just very time consuming.  Once I'd crocheted the head, I started on the hair straight away.  I don't know if this is the best time to do it, but I was impatient and really wanted to try it, but it didn't cause me any problems.  All you need to do is cut lots of strands of hair at the desired length.  I found it easier to wrap lots of yarn around my hand then cut it all in one go.

Once you've got your strands you need to attach them to the head.  To do this, I inserted my hook through one hole and out the next, looped a strand over the hook and pulled it through then hooked the other end of the yarn (2 bits) and pulled them through the loop on the hook and pulled tight.

I made the hair much longer than I actually needed it - it can be cut later.  When I'd finished, I thought it best to add the mouth and eyes now - it'd be much more difficult later.


Tina's favourite colour is Turquoise so it was obvious she'd have a turquoise dress.

I added a bit of a silver trim to the bottom and did silver shoes as well.


I gave her hair a bit of a trim, sewed on her arms but there was still something missing.  I made two little circles, stitched them on and we had our finished Tina :)


Star Wars

Okay - now to my first major project.

Before I show you, I should point out I have never watched a Star Wars film in my life.  I took to Facebook to ask people for some inspiration and my friend Sarah, currently living in Turkey and working as a Teacher, suggested I crochet her a character from Star Wars.  She'd found a picture online and thought they were pretty cool.

I did a bit of Googling and this is where I stumbled across Lucy Ravenscar who had the patterns for sale - I opted to buy all of them.

You can buy the patterns from her Etsy shop here. They're £25 for the entire set but definitely well worth it!!

I've completed the whole set now.  The colours differ to the ones in the patterns, not through choice I just used the cheapest wool I could find and that's the closest colours I could match.

I also opted not to use safety eyes on every one - looking back I wish I had but the local shop I go to only had the orange ones so I only used them on a few of the dolls, the rest I just sewed black beads on for eyes.

You'll notice that Obi-Wan Kenobi looks different - all I did was followed the pattern and then used some snowflake wool that I had left over from Christmas and attached it loosely to his head.

I won't say much more here - I really do not deserve any credit for these.  I can only begin to imagine the time and effort that went into creating these patterns - they were so well written and I can't speak highly enough of them.

They all vary in size, but they are relative to eachother.  For example, Chewbacca is the tallest as his character in the films is tallest.  The finished products range from about 3 inches to 5 inches high.

Anyway, here's my finished articles.

Yoda

Princess Leia

Luke Skywalker

Jawa

Obi-Wan Kenobi

Chewbacca

R2D2

Admiral Ackbar

C3P0

Ewok

Boba Fett

Storm Trooper

Darth Vader

Han Solo

Discovering Amigurumi

What is Amigurumi?


Amigurumi literally translates to crocheted or knitted stuffed toys.  The majority of the patterns you will find though are crocheted.  Mostly, amigurumi will be stuffed animals but there really are no limits to what you can crochet - animals, people, vehicles, anything really.

I discovered amigurumi completely by accident - when I was looking for patterns for Christmas decorations, I'd stumbled across the term on a few occasions and hadn't really understood what it meant.  However, after seeing it a few times, I decided to look into it a bit more and found so many different things that you could do with it, I didn't know where to start.

The thing with Amigurumi is, it's not really practical.  Unlike a pillow, a blanket or a hat, a stuffed toy has no actual purpose other than to look nice, so I wasn't really sure where I'd start for my first project.


My first Amigurumi

I wouldn't count any of my christmas decorations as my first amigurumi project as, although technically they were, I didn't actually know that's what I was doing at the time so they don't count :)
I decided I'd try a mouse - one of the customers at work, who has a particular fondness of cats who I have been sending pictures of Turnip to for some time, had sent me some cat nip so I thought I may as well make use of it and make him a stuffed toy and use this in it.  Being a cat, I thought he'd appreciate a mouse, especially as he has a fondness for bringing the real things into the house from time to time.

I managed to find a few free patterns online, but in the end I settled for this little fellow :)

He's looking a bit worse for wear here as Turnip has already taken to him with his claws, but he does enjoy playing with him.


The pattern was so easy to follow - and it's made entirely with double crochet.  I opted for tying a few knots for the eyes instead of using proper ones as he'll only destroy them.

This was the beginning of the Amigurumi bug for me :) Now I just needed to find another project.

Monday 25 February 2013

Christmas

I'm going to just add a load of photos of what I did over Christmas.

I got most of the patterns or inspiration from Pinterest - when I find the time, I'll link the patterns but for now here's the pictures of the finished products.


The Throw - The first 8 squares

Okay, the first few squares didn't go too well - but the next lot weren't too bad.  I've sort of decided to accept any mistakes I make now - when I put the throw together, I think the mistakes will add to the uniqueness of it all :)

Square 1


This was worked in the round - I wish they all were.  I prefer working in the round, the work seems to take it's shape more that way.

This was made using treble crochet and was very simple.

I was convinced I would get this wrong with the changing of the yarn, but it was actually very simple.


Squares 2, 3 and 4

The next two squares were made by simply creating a square of half treble crochets then using a yarn needle to embroider/cross stitch a pattern on. As you can probably see, my cross-stitching skills leave little to be desired.  I'm hopeless at it :)


 Square 5

I really like this square - it's really simple yet effective. It was made with treble crochet but instead of going through a stitch, you go round the treble from the previous row.  I'm not very good at explaining but basically, you yarn over, put your hook through one hole from back to front, then through the next hole front to back, yarn over then pull it back through then complete the treble stitch.  I think it gives a lovely pattern.


Square 6

This one was quite simple - it was created using the double crochet stitch and changing the colours throughout to create little squares.


Square 7

This was a little more complicated but it's definitely my favourite square.  It was the most fun to do and the nicest to look at.

The main part of the square is created with the treble crochet stitch and then changing colour to do a bobble stitch. To get the bobble, you yarn over, go through the next stitch, yarn over and back through, yarn over again, back in the same stitch, yarn over and back through, then do this one more time.  Then do one more yarn over and pull it through all the loops on the hook.  It's actually quite simple.


Square 8

This is probably the easiest and quickest of all the squares to date - it's created with a series of chains and double crochets to join.


Simple! If you want any detail on how to create any of the squares, I'd be glad to help.  However, the full pattern instructions come from "The Art of Crochet"

If anyone can give me some tips on the cross-stitch, I'd be really appreciative :)


Wear your poppy with pride

Some of the girls at work had heard of my new found crochet skills and had asked if I'd make a few poppies for them to sell for the Poppy Appeal.

Brilliant - my first proper project.  I wasn't sure whether I'd be able to do it or not, but thought I'd give it a go nevertheless - I was straight onto Google and managed to find a pattern for a poppy with a leaf.

If you're interested, the pattern can be found here.  

Poppy 1

Now came the problem - I'd never read a pattern before, I was used to having step by step instructions with pictures.  So I had my pattern, I'd even got some yarn, so I was back onto google and managed to find some websites and a few videos showing you how to read patterns and off I went.  I'll be the first to admit it's not the best, but it was my first attempt and I was so pleased.  This was my first introduction to working in the round.
Poppy 2


Although this was a good likeness to the normal poppy, it wasn't as elegant as I'd liked and I'd found some gorgeous buttons that I wanted to use to make something a bit more classy.  One of the girls at work showed me how to do another type of poppy and I managed to create a few of these.

It was actually a lot simpler than the pattern I followed and looked a lot better when pinned on.  I can't remember the exact instructions, but I created a ring by chaining about 4 or 5 (maybe more) then joining with a slip stitch through t he first chain.  Then I just double crocheted round and round and round until I couldn't double crochet anymore.  Then did a double-treble crochet in each of the doubles in the previous round.  I just copied the leaf pattern from the other poppy, sewed them all together with the button and added a pin to the back.

I'll be doing some more this year so will try and write the pattern down properly.  I'll be honest, I'm rushing here - I'm desperate to get all my crochet bits and pieces blogged so I can carry on with my next project.

Learning to crochet

Firstly - check me out!! I managed to log on and continue what I'd started earlier.

Learning to crochet

I hadn't planned on actually getting past this stage - I always thought I'd fall at the first hurdle but apparently in my determination to give up smoking, I hadn't really had time to tell myself that crochet was too hard and I wouldn't be able to do it.  I really did surprise myself and picked it up relatively quickly.

I used a combination of written instructions and a DVD that I got with the Art of Crochet magazine to learn the original stitch.  I spent hours just chaining 20 then slip stitching into each chain, unpicking it and starting over again.  This was really handy for practising how to hold the hook and yarn - you can't really go wrong with a slip stitch so all you really need to concentrate on is holding the hook and yarn.

One word of advice - don't let anyone tell you how you should be holding your hook and yarn.  There really is no hard and fast rules.  Try all the combinations and you'll find the one to suit you. In case you were wondering, I hold my hook like a knife :)

The first piece!

Missing stitches
The first thing I did was a square.  The Art of Crochet gives you some yarn and a pattern for a square each week - the idea is that you make a square every week with the aim of making a throw/blanket by the end of it.

Double crochet
I started off with the basic double crochet - I did rows and rows and rows of this stitch.  I didn't want to waste wool, so did a few, pulled out the stitches and redid them all.  I spent days doing this before I went past the first few rows. Then I stumbled across my first problem - missing stitches.

It turns out, there's a stitch right at the beginning and right at the end that I was missing!!  The first few rows were a problem but with some perseverence I managed to get it sorted.

I unpicked it all and then tried again and it worked :) Okay, it might have been a bit wonky and I missed a couple of stitches but I'd worked out what to do.

 Then came the treble crochet - I must thank Jane at work for her help with this one - I couldn't quite grasp it and then she told me how to do it and it just clicked.

Double/Treble combination
My first square was a combination of double and treble crochet.  I don't have a photo of this completed - I unpicked it because it was too small when I finished and I haven't got round to redoing it. It was quite a simple square with a row of double crochet then a row of alternating between double and treble.  This is the only photo I have of the piece.
Scallop square
My next piece took some time to work out, but thanks to the step by step instructions and a bit of YouTubeing (is that a word?) I managed to create the following pattern.  Again, I got the size wrong on this one so unpicked it so can only show you a photo of a bit of it.


I'll be dedicating more time to the throw later on, but I just wanted to give my rejected squares a bit of time.  They weren't very good and I will finish them at some point, but I wanted to show what you can achieve, even from the beginning.

My first ever blog - about me!

Okay, so here goes - my first blog post.  I had intended to do this a bit sooner ... quite a lot sooner actually, but as I can't go back in time, I best get to work and start summing up the last few months.

Who am I?

This one's easy - I'm Stevie.

Whilst I will try and keep this blog all about my crochet, I can't see the harm in telling you a bit about me.
John and I - August 2007

At this present moment in time I am 28 years old.  I live in Kent with my partner John and my cat Turnip and four chickens (Babs, Dusty, Betty and Enid).  Turnip may make his way into my blog from time to time, John less so.  I absolutely adore my cat and never get bored of taking photos of him.  In fact, I am tempted to create a separate blog all about him - mind you, let's not get carried away, one thing at a time.

As far as hobbies and interests go, I'm very simple.  I like the same as most people - reading, social networking, computer games, films, television and going out with friends.  More recently, I've added crochet to that list.

Why Crochet?

I decided to give up smoking at the end of September 2012 and in my quest to give up, I decided to take up crochet.  It was timed quite nicely with the release of "The Art of Crochet" series, so thought I'd give it a go.

At first, I wasn't sure whether or not I would enjoy it, or in fact whether I would be any good at it.  One of the girls at work decided to do it and I decided to jump on the crochet bandwagon.  I hadn't done any research into the cost, what I'd need or the sorts of things I could create - I just wanted something else to do that would replace the cigarettes.

Anyway, here I am 5 months down the line from buying my first magazine with free hook and wool and I think it's fair to say I am well and truly hooked - pardon the pun!  I'm now at the point where I've created so many things that I would like to start showing off.

I am a complete beginner and I really hope by creating this blog, someone might stumble across it and think "I'd like to try that!"  People are very guilty of saying "If I can do it, you can" but I really do believe it when I say it.  I have a creative mind but when it comes to practical skills, I'm usually lacking.  But, apart from a few teething problems when I first started I really have taken to crochet.

Where to start!

The basics - I can't emphasise that enough.  Start with the basics and don't even think about moving on until you've got the hang of them.  I was crocheting one square for weeks.  I kept starting over and over again with a basic square in double crochet.  Once I was comfortable with that and it looked like a square, I went to treble crochet and did that over and over and over again.  Once you've got the hang of these, everything else is pretty simple.

About my blog!

I've never blogged before so this is all new to me.

I intend to post everything I crochet. I probably won't post patterns for any of my own creations, but that may well change in the future - depending on how comfortable I am - I've only just starting free styling :)

If I'm showing you a piece of work where I'm following a pattern, I'll link to the site so you can purchase/download the pattern for yourself if you would like to.


Anyway, I think I'll leave it there for now - I'm on my lunch break at the moment but was keen to get this started.  I have every intention of carrying on at home later on today but in all probability, that might not happen - there's another thing about me, I'm terrible for procrastination.  It's highly likely that the next post will follow in a few days but as things are at the moment, I have every intention of posting with one of my first projects later today.


Hopefully, I'll be back later - bye for now!